Once logged in, go to the Settings tab in the left navigation bar. You must be an admin in order to access the User, Settings and Notifications areas. Settings is the area where you can create custom fields and manage module-specific settings like default values for payment pages.
Don't forget to add your logo under the Payment Page Styling tab as soon as possible! Doing so will ensure proper branding on any client-facing areas of LawPay Link.
General
Create custom fields and decide where to display those fields.
- Click the Add button to create a new field.
- Enter a name in the Custom Name Field box. This is the label that will appear throughout the software and may display to your client depending on where you chose to use it.
- Select a field type (text box or dropdown menu).
- Select which modules should display the custom field.
- Click Save to save your settings.
Repeat this process until all custom fields have been added. Drag and drop the horizontal arrow buttons on the left to arrange fields in the preferred order.
If any custom fields need to be removed, simply click the red delete button on the right side. Be sure to click the Save button to save your settings. This will immediately remove the custom field(s) from all modules. If you only wish to remove the field from certain areas, click the Edit button and modify the Display Options. Be sure to click the Save button before maneuvering away from that page.
Customize the receipts that are emailed to your clients. Please note that these customizations do not apply to internal payment notification emails.
- If you have multiple merchant accounts, you can use the same settings for all accounts or create custom settings for each merchant account.
- Enter RGB color codes so the color on your receipts is consistent with your brand.
- Add a custom message that appears at the bottom of all receipts.
Change the default message that will appear on Send for Payment Method email sent to customers so they can add saved payment methods to their Payer profile. You can still customize the message for certain Payers.
The Auto-send on expiring cards feature is disabled by default. You must check the box to enable it. Once activated, LawPay Link will automatically email Payers a request to update their payment method if a card is about to expire. The notice is only sent one time on the first day of the expiring month. The system does not look back and email everyone with an expired card. Additionally, we will not continue to email the Payer if the card is not updated when it expires.
Invoices
The Invoices tab is where you can specify parameters for your Invoicing module such as sales tax percentage, terms, invoice number formatting and footer text. This is also where you can change the "send invoice immediately via email" option.
Send for Payment
The Send for Payment tab is where you can set default settings that will apply to all bills sent from this module.
Add a custom message to the email template for more detailed and enhanced communication when sending the invoice and payment page link to clients.
Set up custom Smart Reminders that automatically send follow up reminders to your clients at regular intervals, which eliminates manual emails for you and your team. You can customize the number of reminders (1-4), customize message verbiage and decide whether or not you would like messages delivered on weekends.
Add a Disclaimer that will appear at the bottom of the payment page to inform customers that clicking the submit button means they authorize payment. This can be a critical proof of authorization in case of chargebacks.
Example - "I authorize [your company name] to charge my credit/debit card indicated on the web form, for the noted amount on today's date."
We highly recommend enabling reCAPTCHA for increased security.
Payment Pages
The Payment Pages tab is where you can establish default for new payment pages.
We highly recommend enabling reCAPTCHA for increased security
Want to personalize your confirmation pages? Customize the messages that appear on screen after approved and declined payments.
Add a Standard Disclaimer that will appear at the bottom of your payment pages. This could be a message to inform customers that clicking the submit button means they authorize payment.
Example - "I authorize [your company name] to charge my credit/debit card indicated on the web form, for the noted amount on today's date."
Payment Page Styling
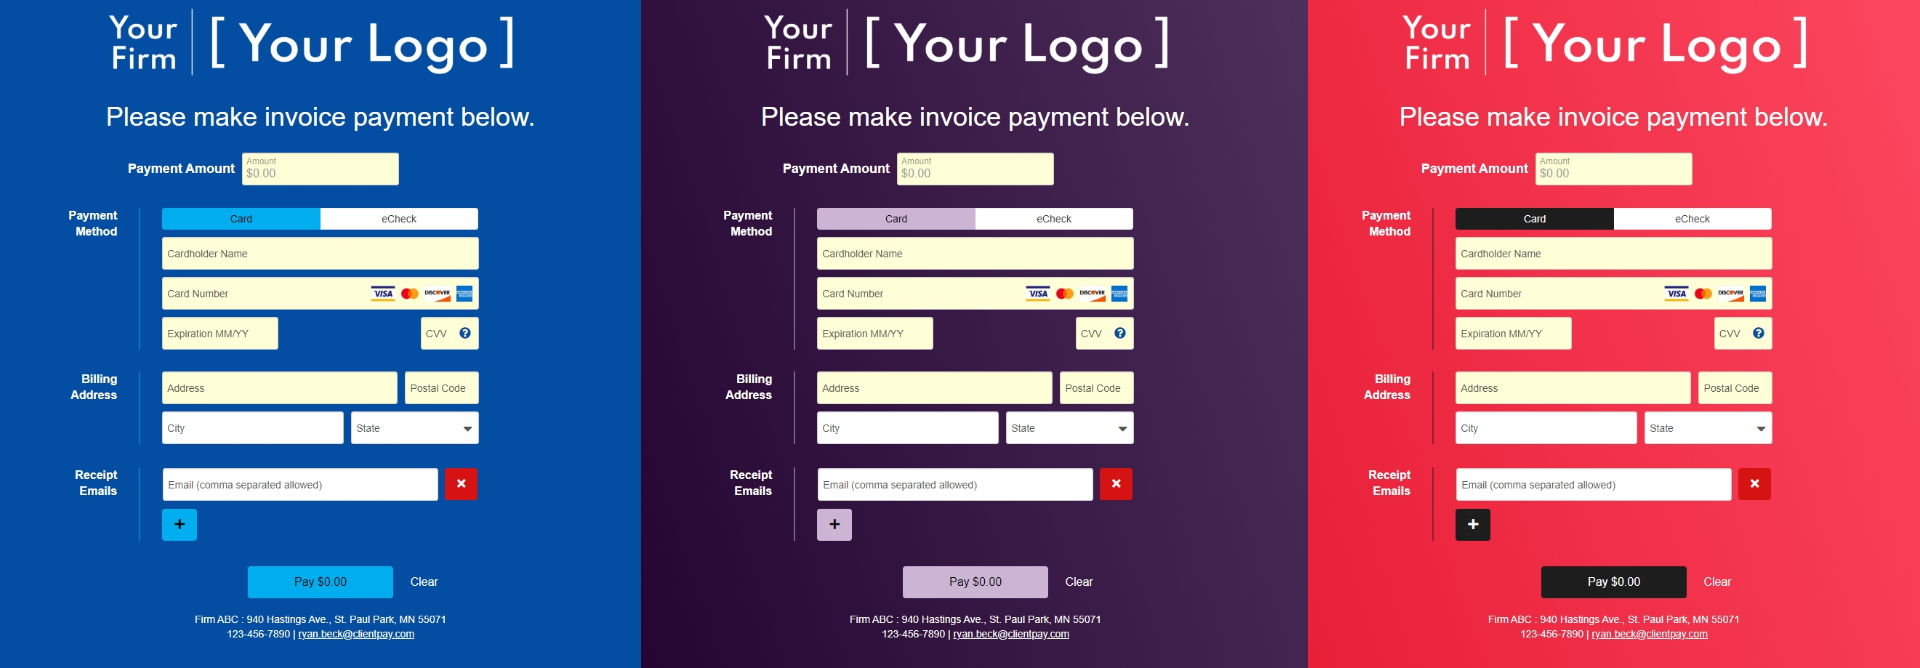
Customize the background, button, and text color on all payer-facing payment pages that originate in the back office.

- Add your logos that you would like to have on file for use on your payment pages
- You can add up to 10 images
- The first logo you add will be listed as Default but you can change that by clicking Set Default under an image
- Images may not exceed a maximum size of 1MB and must be in PNG or JPEG format
- Use the slider to select a color match or enter specific Hex codes for the background and buttons
- Decide if you want a flat, gradient or two-tone background
- Change the text color (*be sure to use the contrast ratio hints to ensure the highest quality for easy viewing)
Once you hit Save, any changes will apply to all payment pages.
Languages
Depending on your customer base, you may want to offer a Spanish or French version of your payment pages. The first step is to manually translate your custom fields, disclaimers, and other fields here in the Settings section.
- Go to the Languages tab.
- Select the language you would like to configure. All fields are in English by default so English appears in the list but you are not able to edit it here in this section.
- Go down the list of fields to create a translation for each field. The default answer is the language so, if you just see French, that field has not been translated yet. If a translation is not provided and that field is turned on in one of your payment pages, it will appear in English. The Help Me Translate button is added for convenience but all translations should be reviewed before publishing.
- A list of payment pages available to translate will appear at the bottom of the page. Note: If Spanish or French are enabled and LawPay Link detects a user browsing in one of these languages, LawPay Link will automatically load the page for them in their browser's default language.
- Off = A translation will not be offered on this page.
- On = A dropdown will appear to your customers so they can change to this language if they like but the default will be English.
- Default = The payment page will appear in this language but a dropdown will appear to your customers so they can change it to English (or another language you offer) if they prefer.
- Click Save to save your changes.
Review the Status column in the list of languages offered. Ready To Use is good to go! Limited means that the page(s) will be translated if enabled but some fields are not translated and will appear in English.
Note: You still need to enable Multi-Language on each individual page in order for the translated page to be offered to your customers.
Security
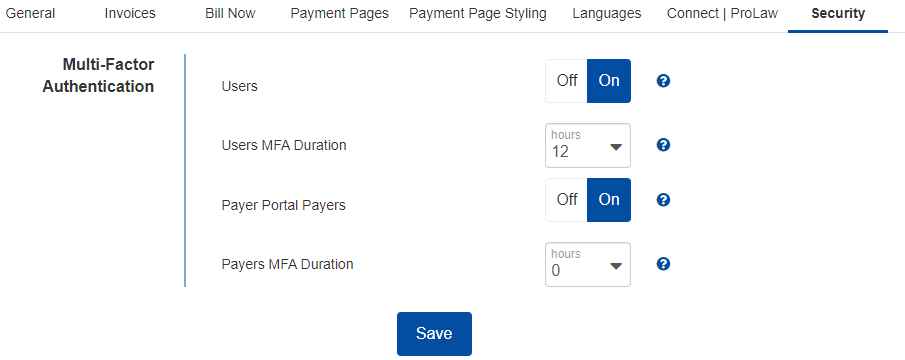
Make your payment processes even more secure by enabling Multi-Factor Authentication (MFA) within your settings.
- Go to the Security tab.
- Users: Switch to On to require MFA for all users at your firm.
- Users MFA Duration: Select the number of hours (0-24) the device will remain authenticated. Select 0 to require a new code for every login.
Note: Authentication is based on the user's IP address. This means that if you change locations, you will automatically be required to enter a new code at the next login even if the original authentication session has not expired. - Payer Portal Payers: Switch to On to require MFA for all of your clients. Once enabled, it is possible to turn MFA off for individual payers.
- Click Save to apply and save your settings.

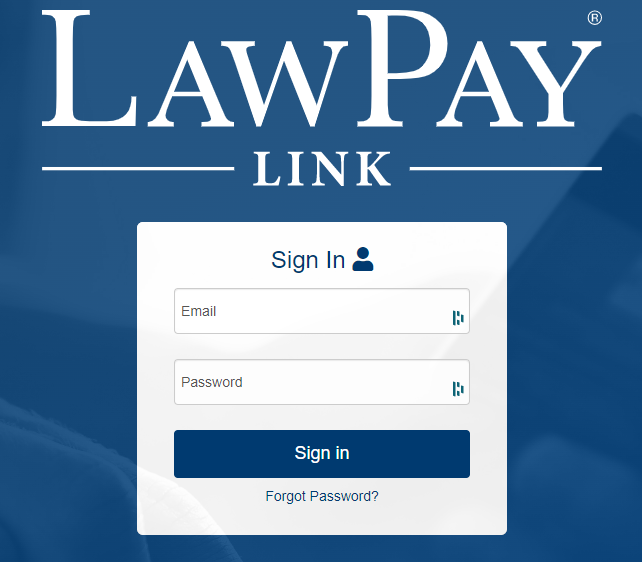
Once enabled, users will login with their normal email/password combination.

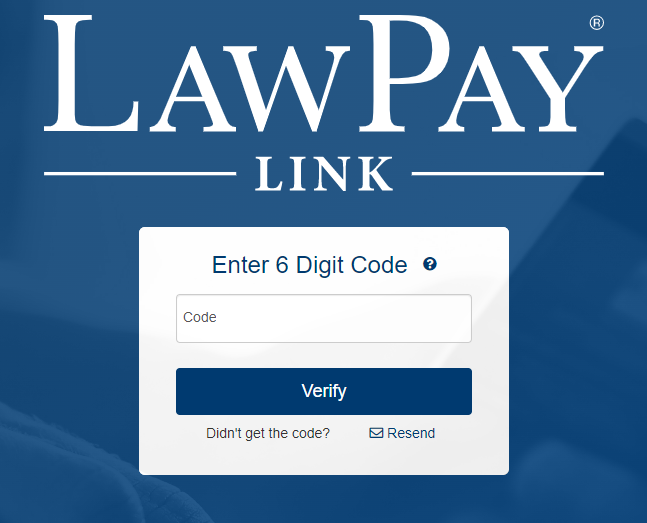
After successfully completing this step (first factor), the user is sent an email with a 6-digit code (second factor). During this time, the login page redirects to a page where they will need to enter the code to finalize the login.

|
Note: You and/or other members of your organization can be alerted when specific actions occur within LawPay Link. We highly recommend reviewing your Notification settings as soon as possible to make sure you are taking full advantage of these notices. |
